How To Start A Raised Bed Garden – 10 Steps To Gardening For Beginners
Get Your Garden Going Today
The level of satisfaction from eating and using the herbs you grow yourself is wholeheartedly immeasurable. Thankfully you don’t have to be an expert gardener to grow fresh produce, and plants. With the right tools and the proper know-how, you can easily learn the gardening basics needed to turn your backyard into a thriving plant paradise. Gardening does take time – to plan, plant, care for, and even harvest and prep your plants (although you can decide how much). But it doesn’t have to take as much time as you think. We have ten easy steps to get your garden going today.
Step 1: Decide What You Want to Grow
The critical step to starting a garden is planning. Of course, the type of garden will depend on the space you have to work with and what you plan to grow. Do you want to plant a vegetable garden? An herb garden? A flower garden?
If you choose vegetables and herbs for their contributions to your dinner table, plant ones your family will eat or be willing to try. If you want flowers for their flair, color, and fragrance, decide whether you want annuals that bloom most of the summer but need to be replanted each spring or perennials that have a shorter bloom time but return year after year. Each one, or even a combination, makes a stunning garden but will have different maintenance requirements.
Step 2: Choose the Best Location In Your Yard
Almost all vegetables and many types of flowering plants need 6-8 hours of full sun each day. The three most important factors when deciding where to put your new garden are sunlight, water, and working accessibility. You’ll need to observe your yard throughout the day to figure out which spots receive full sun versus partial or full shade. If possible, try to pick a relatively flat spot for your garden because it’s more difficult, time-consuming, and potentially expensive to deal with a sloping garden.
Step 3: Clear the Ground
Get rid of weeds and sod in the area you plan to plant and place the raised bed. Use gardening gloves to avoid exposure to allergens, bugs, or thorns. Invest in knee pads or a good sitting cushion so you can settle in and tear those weeds out. This process can also be cathartic. You build up a sweat, but in the end, you’ll have a perfectly cleared plot of land ready for the next phase of its existence.
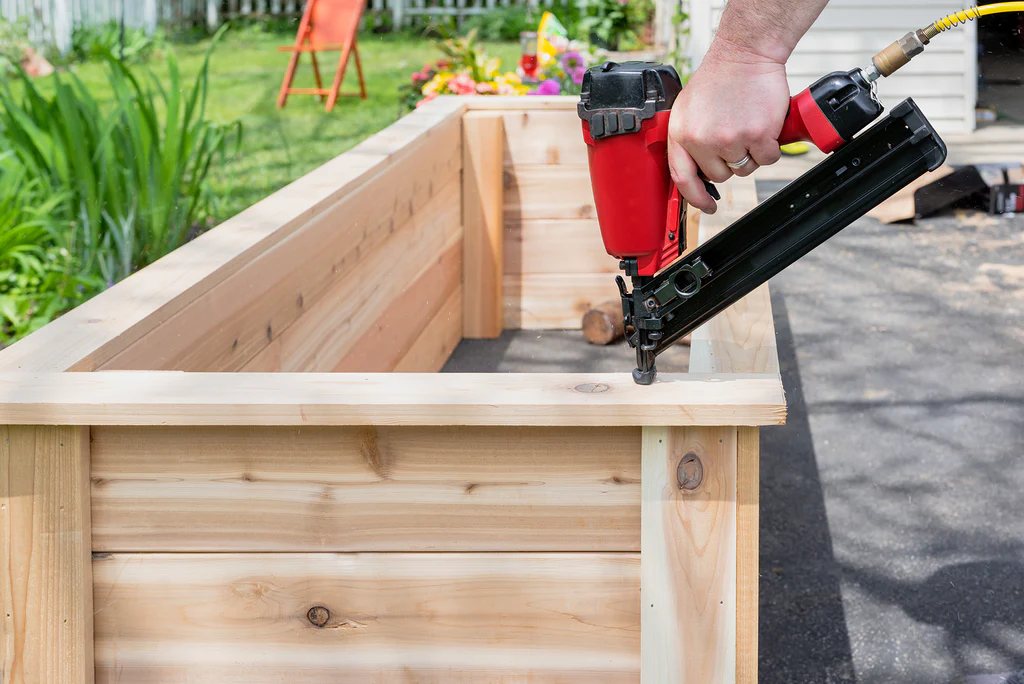
Step 4: Construct a Raised Bed
Start small – you can always add more. A “4 foot by 4 foot” raised bed is a good starting point. You’ll want to aim for a depth between 12 and 18 inches. It is important that you can reach the center of the bed without stepping on the soil. It is easy to construct, and you can grow a lot of food in this size space.
Step 5: Add Fresh Soil
One advantage of raised beds is you do not use existing soil.
To fill the bed, mix equal parts of:
- Compost – use several different brands or make your own.
- Peat Moss or Coconut Coir – makes soil lighter; helps with water retention.
- Vermiculite – helps retain water and allows the soil to breathe.
Once you add the perfect mix of ingredients to your raised bed, you are ready to plant. Loosening the soil in new beds before sowing or planting helps roots to grow more easily and access the water and nutrients they need. Digging when the soil is too dry is harder work, and you can damage the soil structure if it’s too wet.Each time you plant, make sure to add fresh compost to your soil.
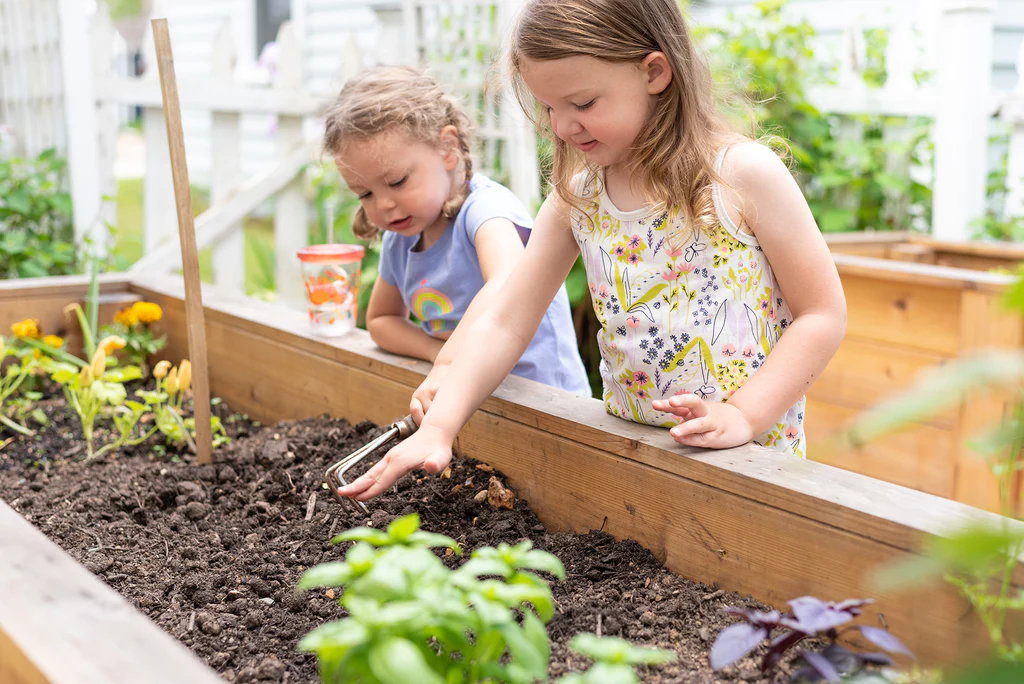
Step 6: Start Planting
Purchasing young plants, also known as transplants, is a more convenient approach to beginning your first garden. Dig holes in your prepared bed according to the spacing instructions on the tag. To remove the plants from the container, invert the plants and hold their stem as you push down on the pot from the bottom. Next, fill in with soil and tamp down lightly around the roots. Finish by soaking the soil in water.
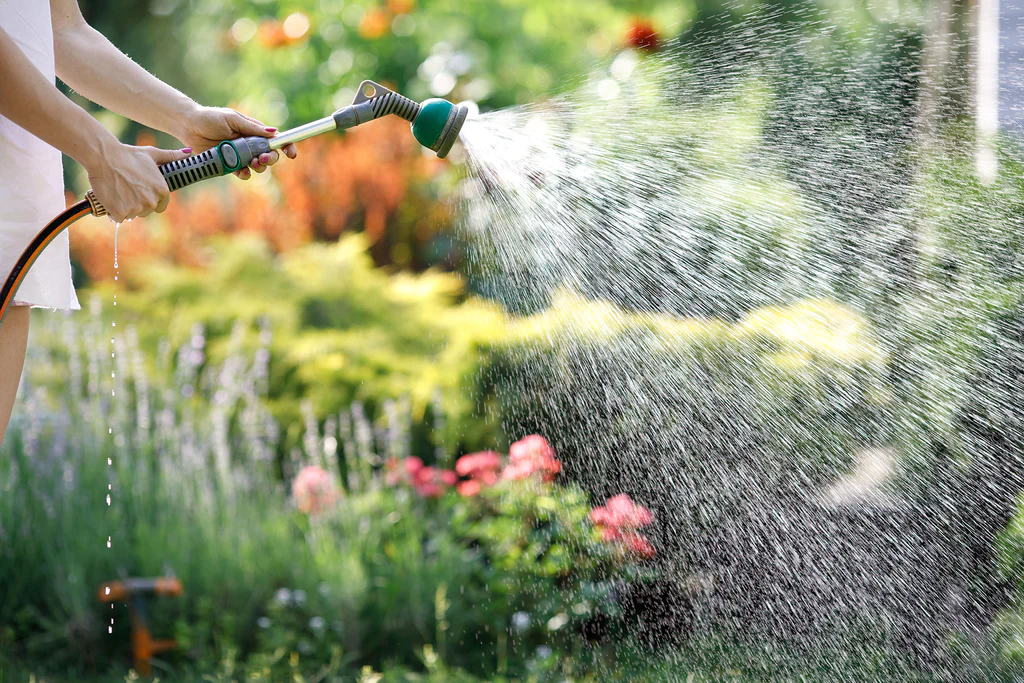
Step 7: Create a Watering Schedule
You should never forget your seedlings and let them reach a point where they begin to wilt from lack of water, so make sure you water them often, even daily in hot weather. Whether you install an automated watering system or will be using a hose it’s imperative your garden gets the hydration it requires. Transplants need to be watered frequently until their roots take hold and that takes about two to three weeks. After that, you can start spacing out the waterings, giving them a thorough soaking, but only when the soil is dry to the touch.
Of course, the weather will always be a major factor in your daily schedule: when it is sunny and windy, the soil will dry out faster, and therefore you will need to water more frequently. And in cool, rainy weather, you may not have to water at all. Still not sure? Feel the soil 3-4 inches below the surface. If it feels dry, it’s time to water. Water slowly and deeply, so the water soaks in instead of running off. To minimize evaporation, water in the early morning.
Step 8: Invest in Good Tools
Proper gardening tools can help you clear dirt and debris from plants without doing damage to the base of the plants. You can also use them to help you plant seeds, rip up weeds, protect your hands, and do other necessary gardening chores. You probably won’t use every single tool each time you work in your garden, but you will be glad you have the tools on hand when you have delicate earthwork to get done.
Gloves: Gloves should be durable but not too bulky, especially for working with seeds or transplanting seedlings.
Pruning Shears: Hand pruners, also called secateurs, help reign in plants that are getting out of control and taking over.
Garden Fork: An efficient tool for turning soil.
Hand Trowel: The essential hand tool, trowels are wonderful for transplanting bedding plants and herbs, planting containers, and taking out weeds.
Spade: These short-handled square shovels are garden workhorses. They make easy work of digging holes for plants, edging, lifting sod, and moving small mounds of dirt from one area to another.
Garden Hoe: Hoes are useful in preparing garden and flower beds and cutting down weeds. A veggie garden may require a sturdy, wide hoe. If you have perennial gardens, a more delicate touch and a thinner hoe may be required.
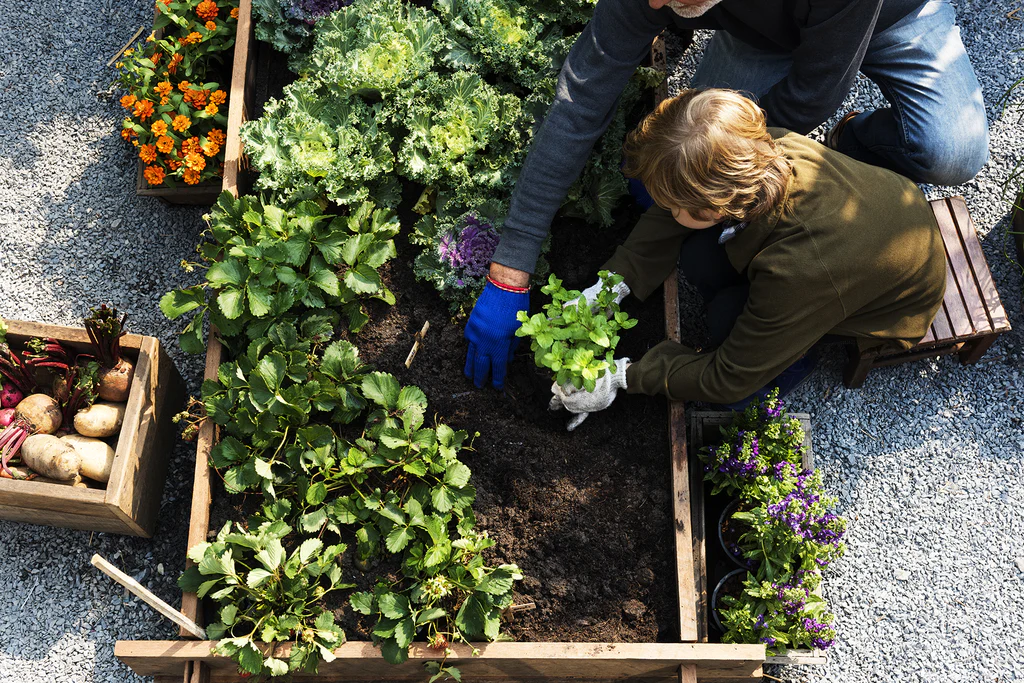
Step 9: Spend Time In your Garden
As your garden begins to grow, help it reach its full potential by keeping up with garden chores. Water the plants before they wilt. Pull weeds before they go to seed. Spending time in your garden not only keeps your plants healthy, and alive but research shows people who spend time in the garden are more likely to report general good health with lower levels of stress and anxiety! Power to the plants.
Step 10: Harvest and Eat what you Grow
Pick young and pick often – this encourages more production. Use the food you grow in the garden, often. Try new recipes and incorporate your garden harvest into the food your family already eats. Soups and smoothies are a great way to use vegetables from the garden.
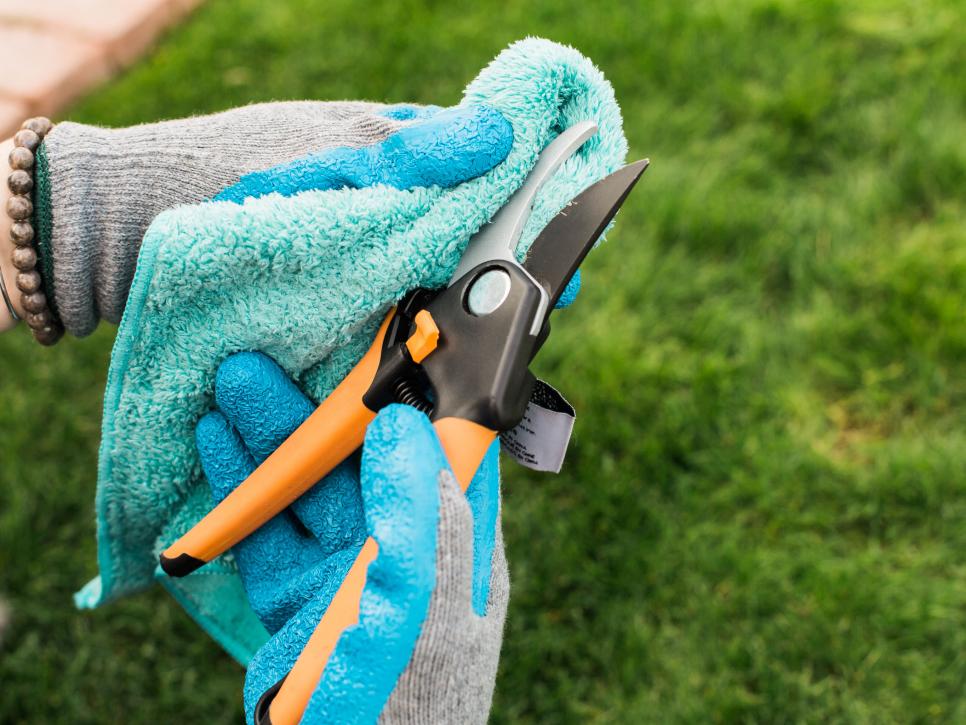
How to Clean Your Garden Tools
Trust your gardening gear with our powerful plant-based cleaners. Start by submerging your tools in soapy water to wash off any remaining dirt, soil, and grime. Rinse well, dry, and start disinfecting. Before storing tools after a days worth of gardening, they should be disinfected to kill bacteria and fungi that can cause problems down the road. To properly disinfect, the surface must remain visibly wet for up to 10 minutes. Wipe or let air dry. No rinsing is required. Your garden tools will look brand new all summer long!